# Data Model Setup
Defining a data model in graphapi is a straightforward process that involves creating tables and the connections between them. A table is sometimes also referred to as a type or model. The table contains a number of fields that represent the properties of its entries similar to a column in a spreadsheet.
Most tables in your data model represent real-world or virtual entities of an application, such as User, Account, Order, Event, or similar. Here are examples of entities in products you might know:
- Facebook: Friend, Post, Message, Event, Page, Group.
- Airbnb: Listing, Host, Guest, Trip, Experience.
- Slack: Team, Member, Channel, Message, Reaction, Thread.
- Intercom: Customer, Teammate, Message, Conversation, Article.
Here's how to get started:
- Click the Add Table button and enter a table name.
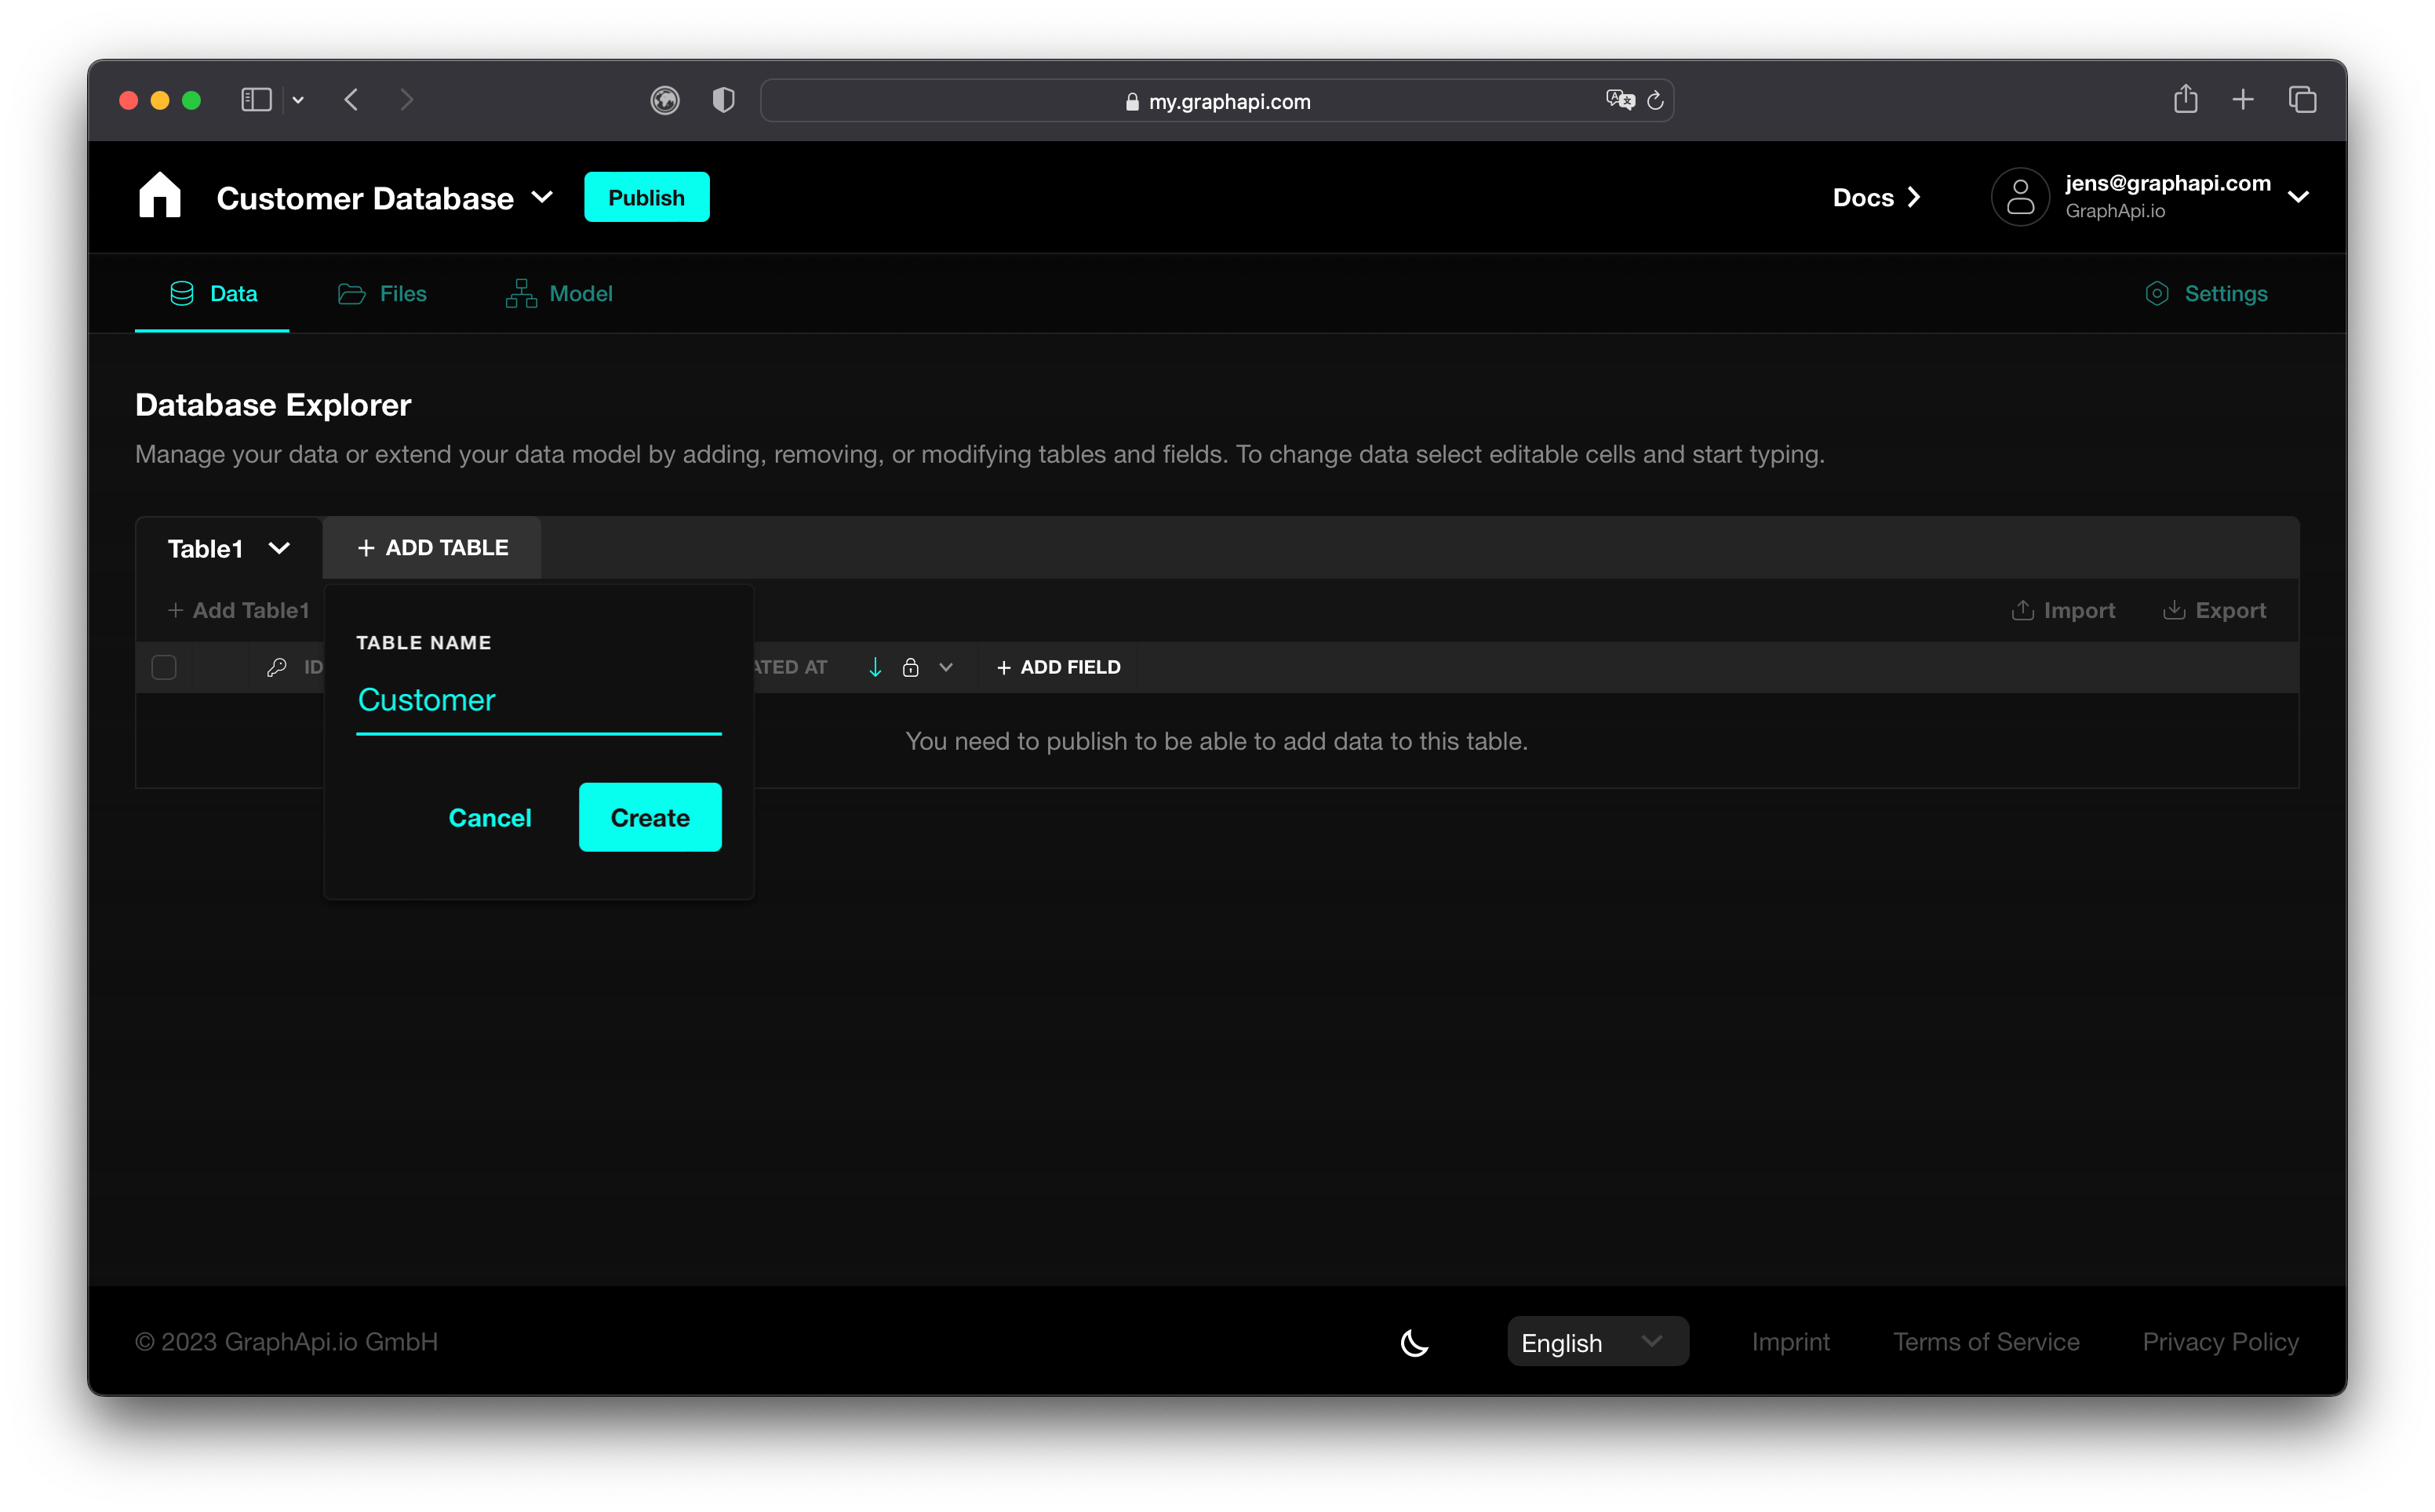
TIP
Don't worry about table names. You can change them later if necessary.
- Define the properties of a table by adding fields:
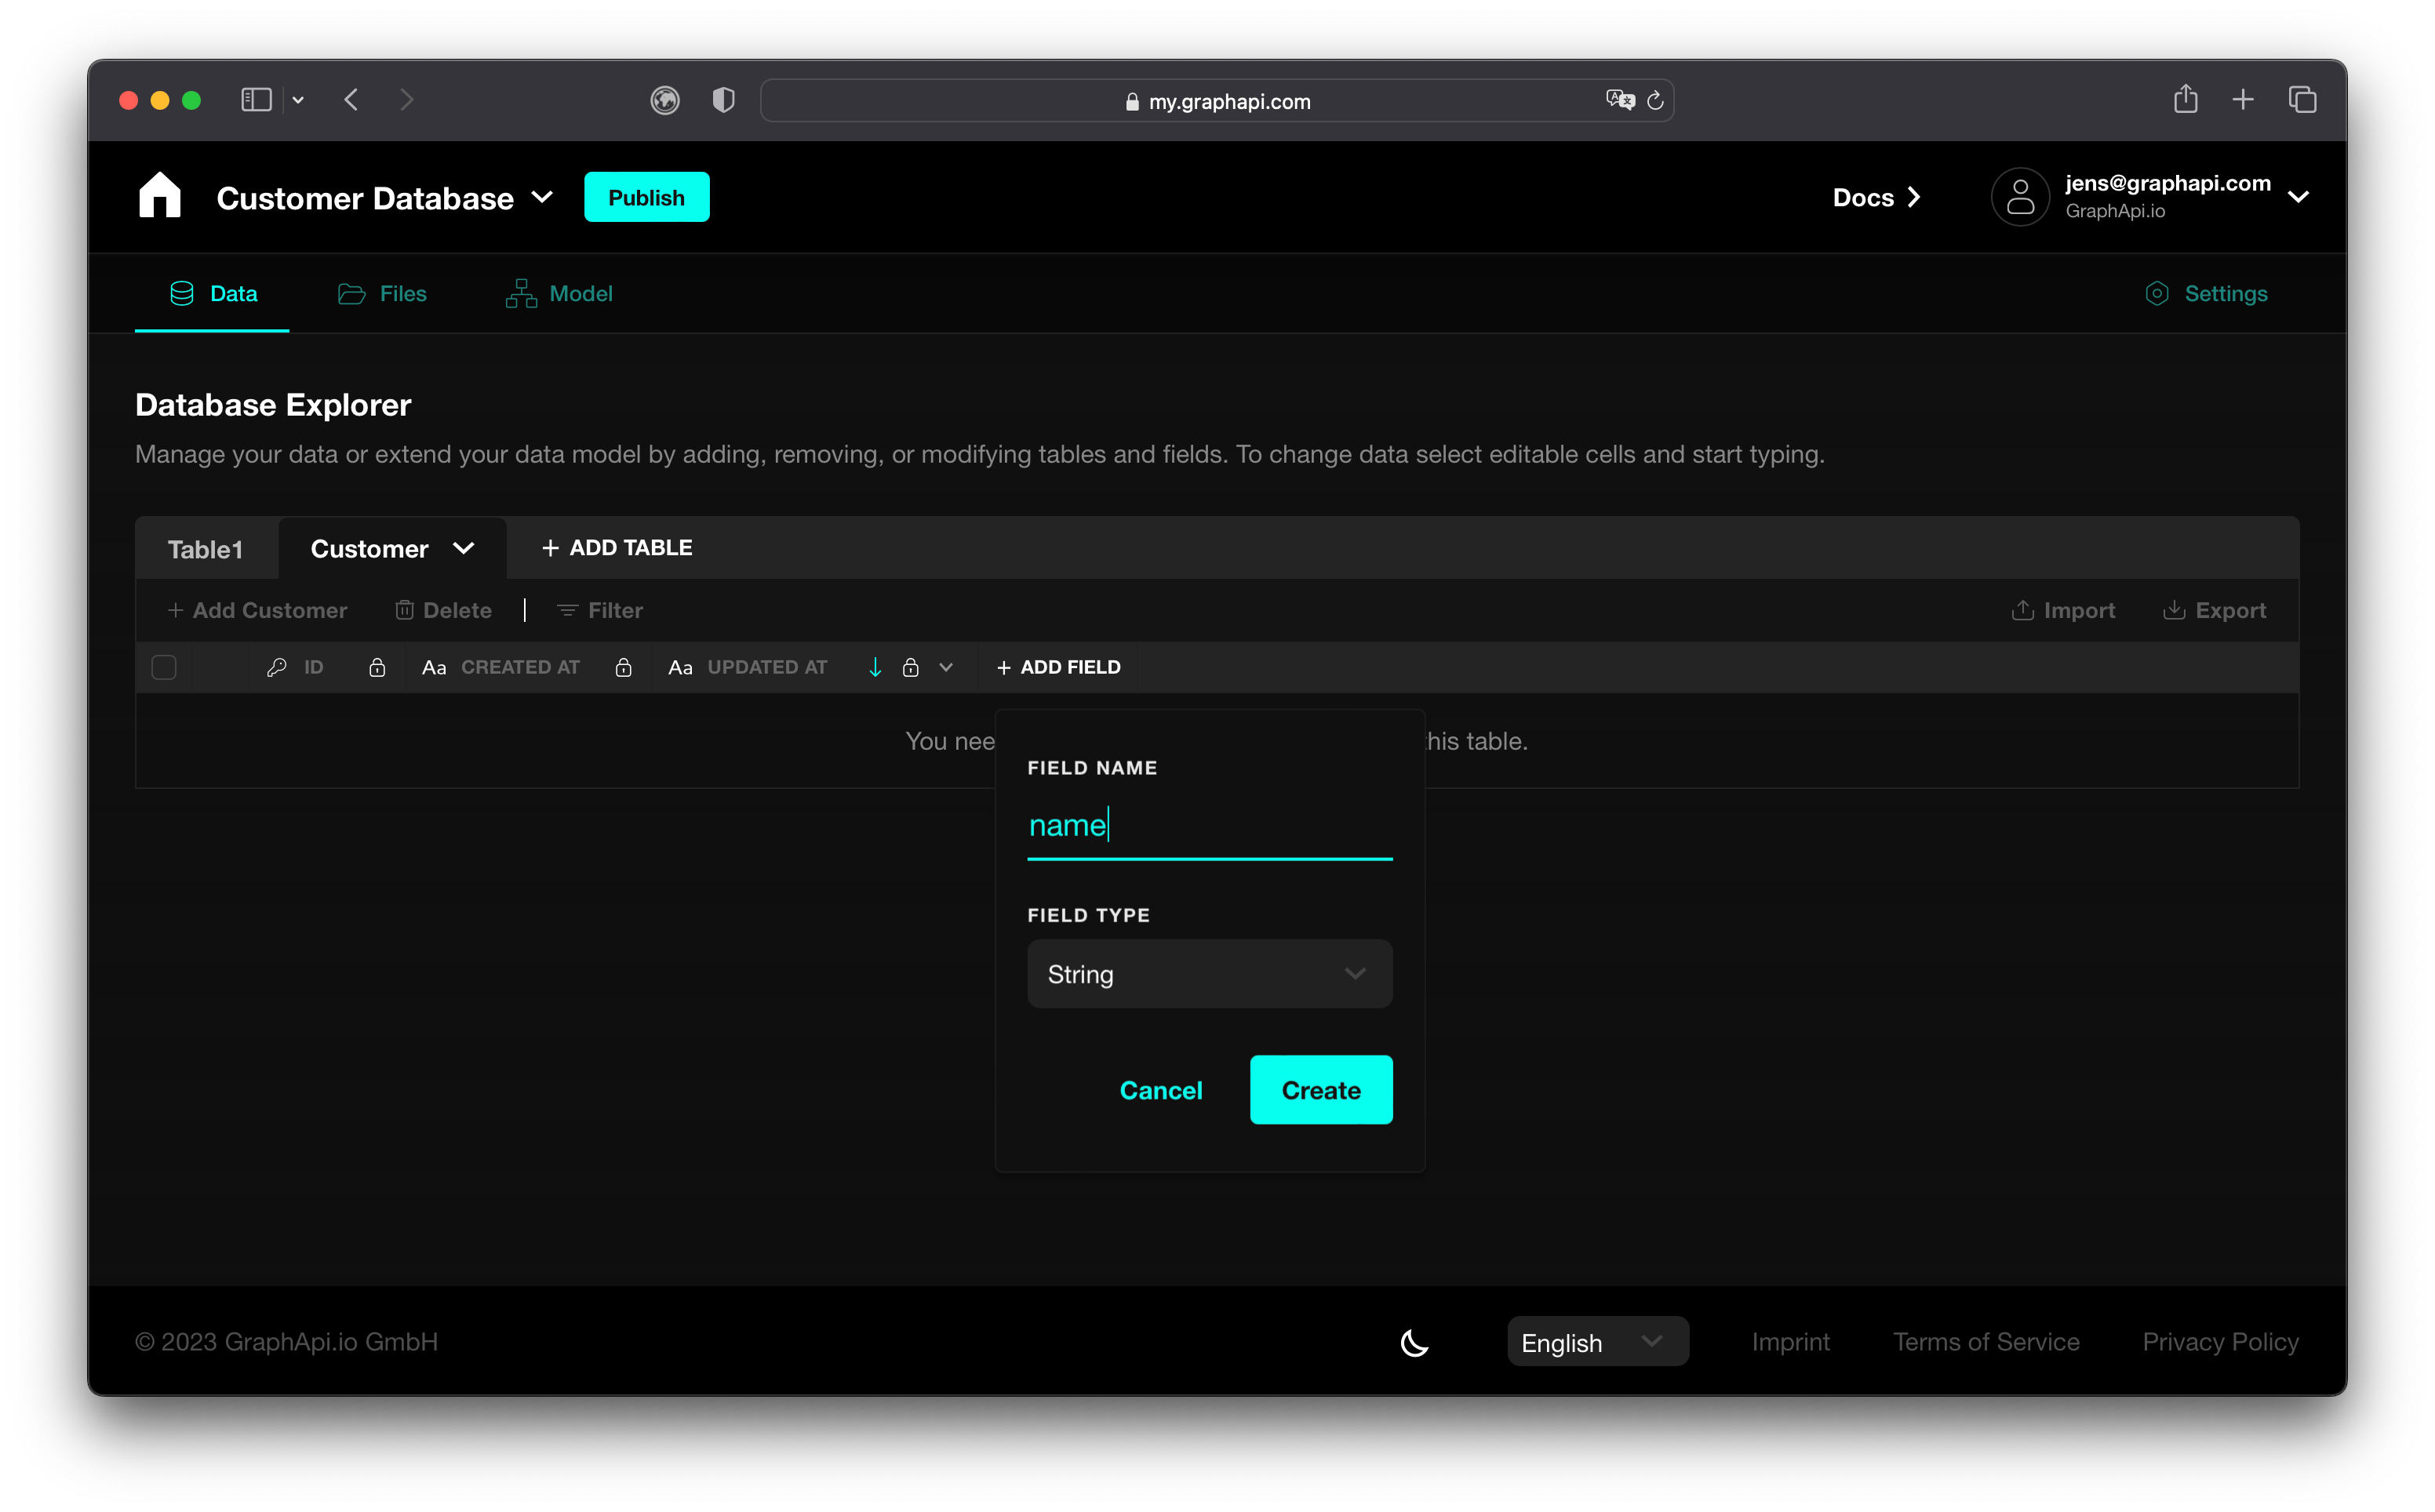
- Each table comes with the following default fields: id, createdAt, updatedAt
- The default field type is set to String. Make sure to select the appropriate field type before publishing. Choose from scalar types, list types, complex types, datetime types, or your own custom enum types.
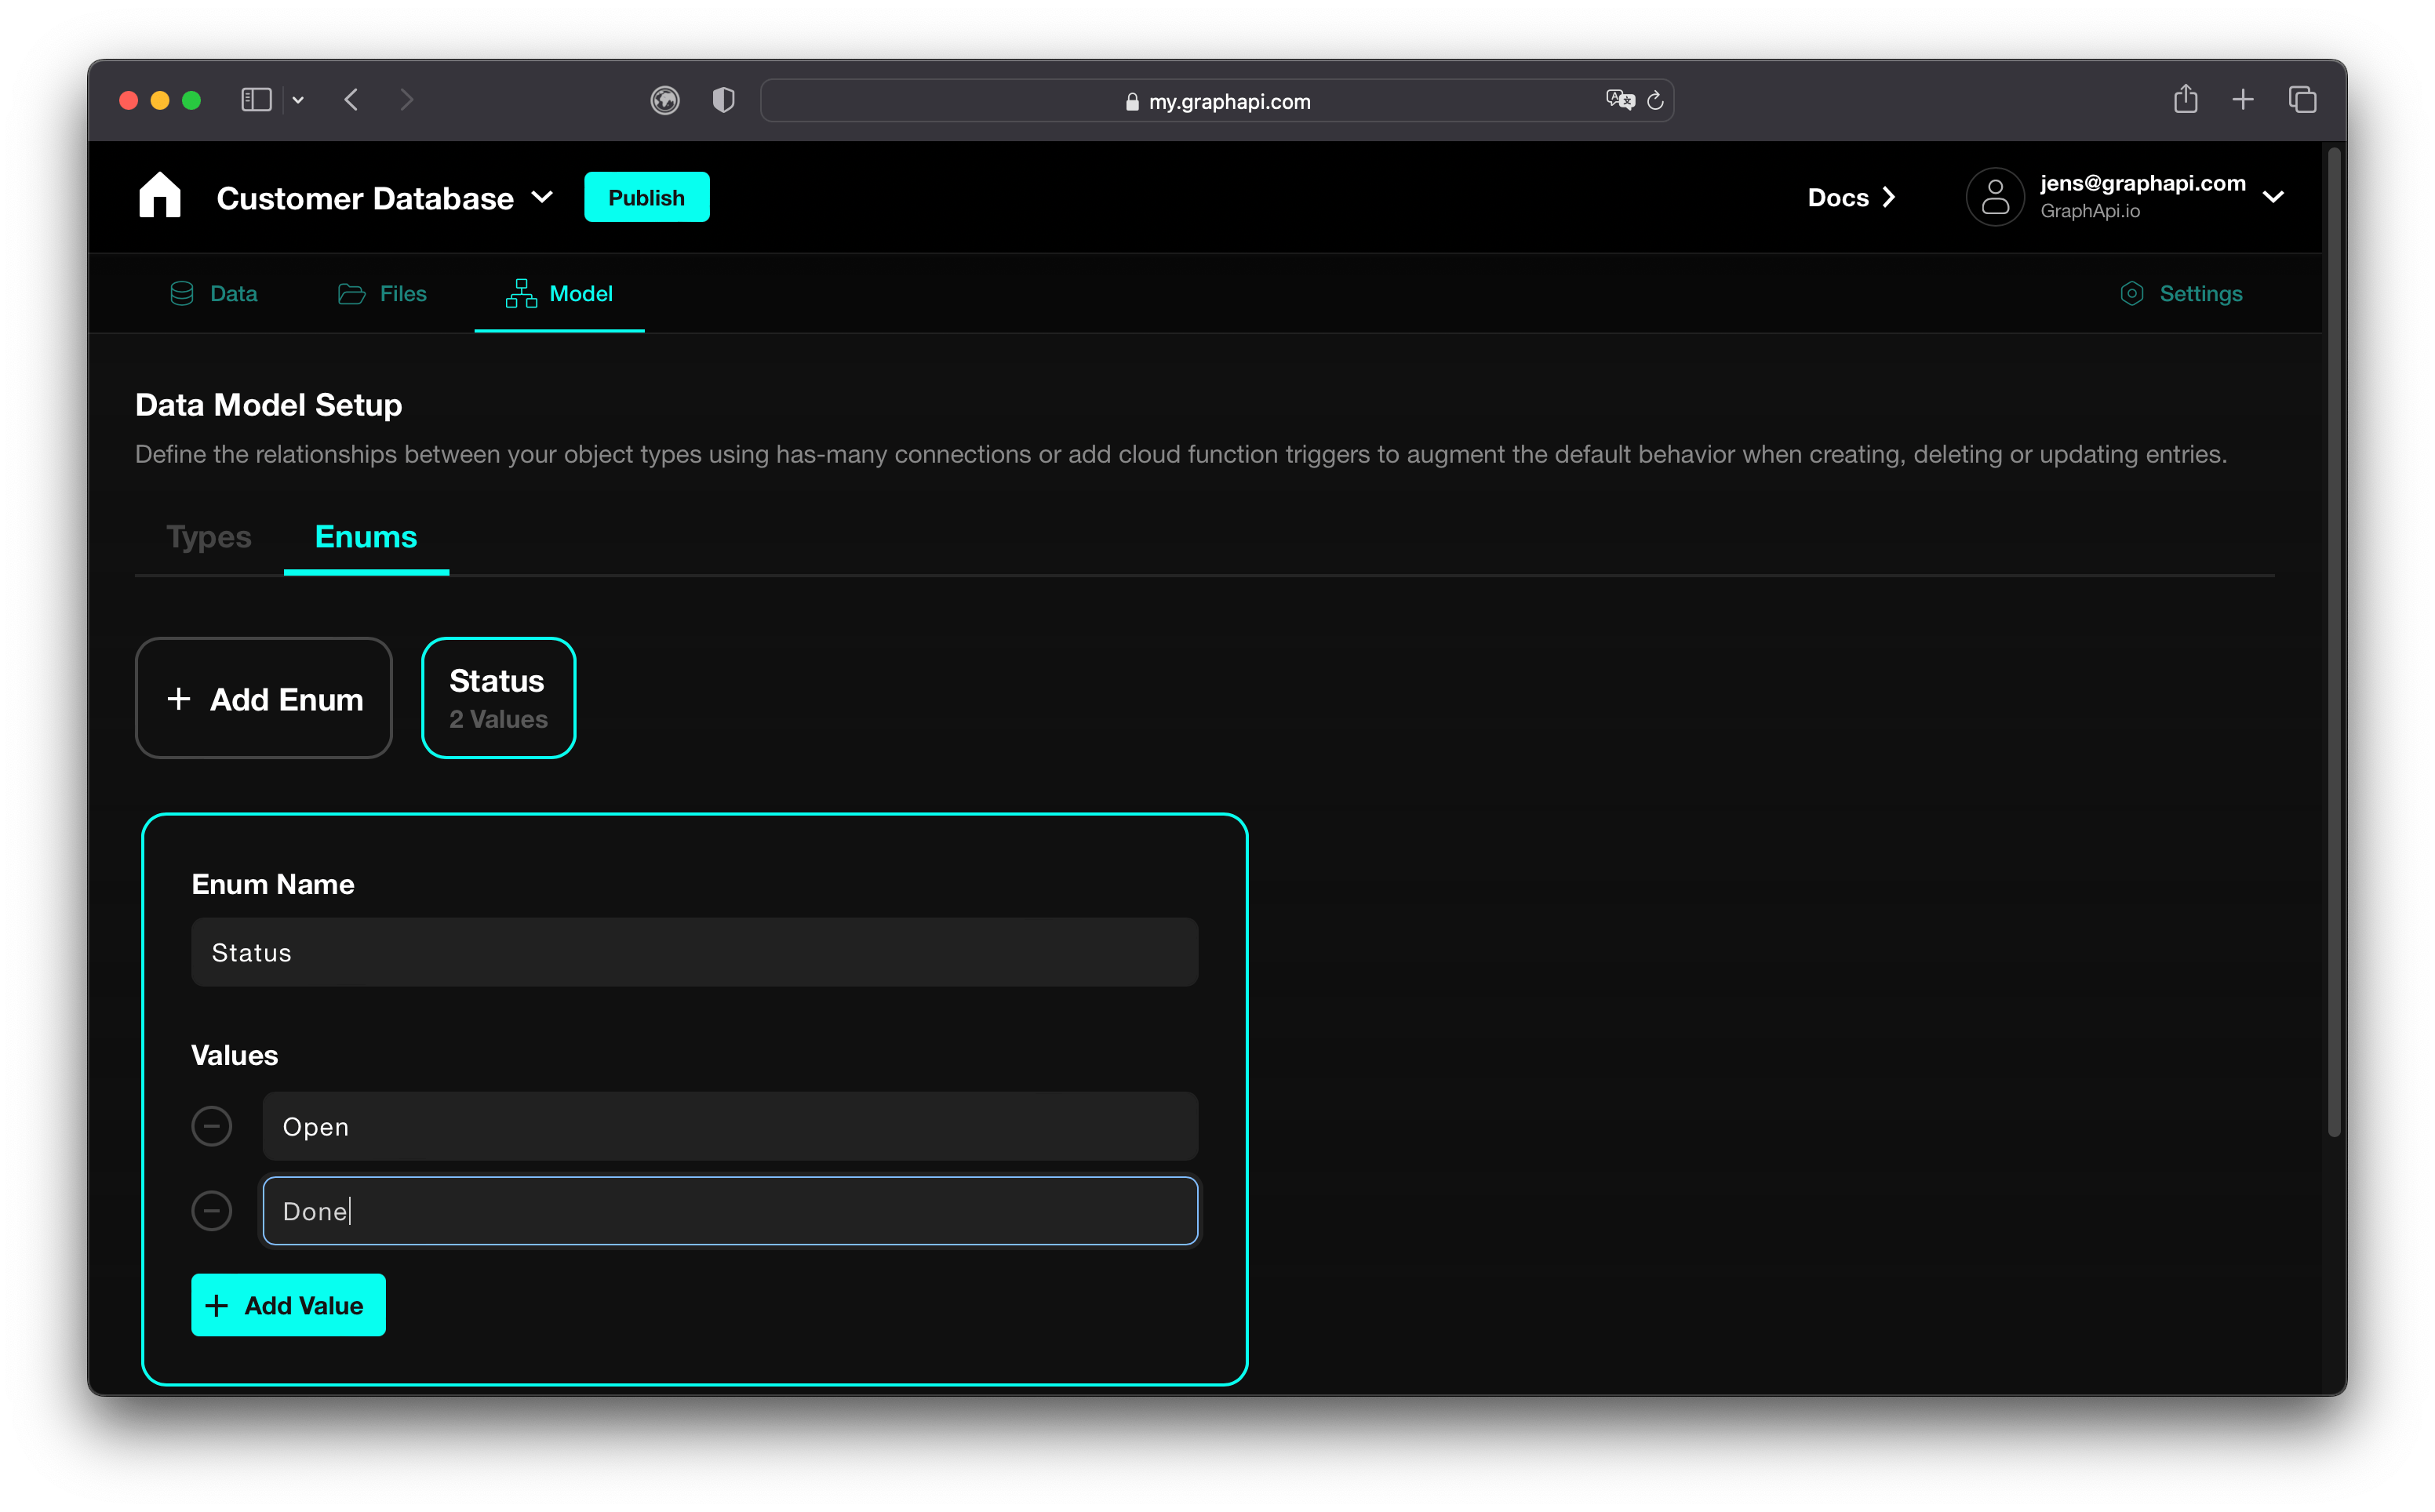
- Enums are a great way to create a custom field type with pre-defined values. To create an enum type, click the Enum Setup tab in the data model setup view and follow a similar process as creating tables and fields. Enter the enum name and add enum values.
- In real-world applications, different entities are often related to each other. In that case, when designing a data model, it helps to define the relationships between objects using simple terms, such as has-many. For example, a user of a Social Network has many friends, has created many posts, and might have written many comments. You can define relationships between tables in the same way by connecting them on the data model setup view.

- Repeat steps 1 through 3 for each additional object type you want to create.
TIP
Start simple and extend your model after the graphapi is published