Bring Your Ideas to Life – Faster.
We help you create your next big project with our AI-assisted,human-first approach that empowers you to build, iterate, and launch with ease—so you can focus on what matters: your vision.

Features
Designed to realize your ideas effortlessly.
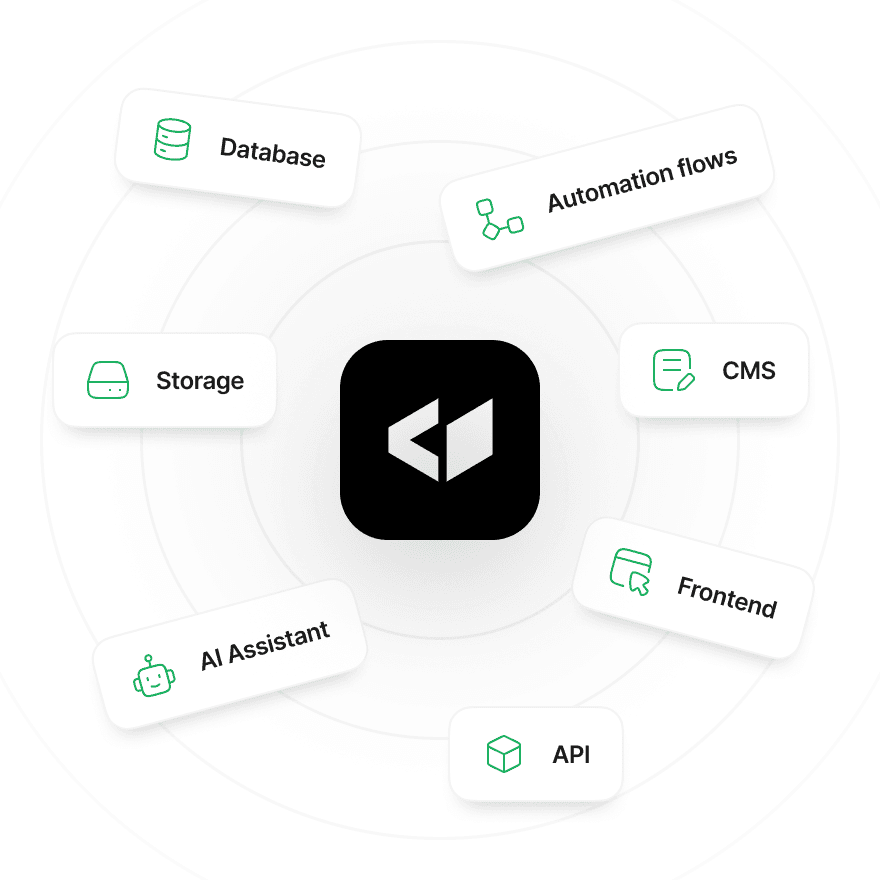
Fully Integrated
Everything you need in one place.
No-Code, No Fuss
Build complex projects without writing a single line of code.

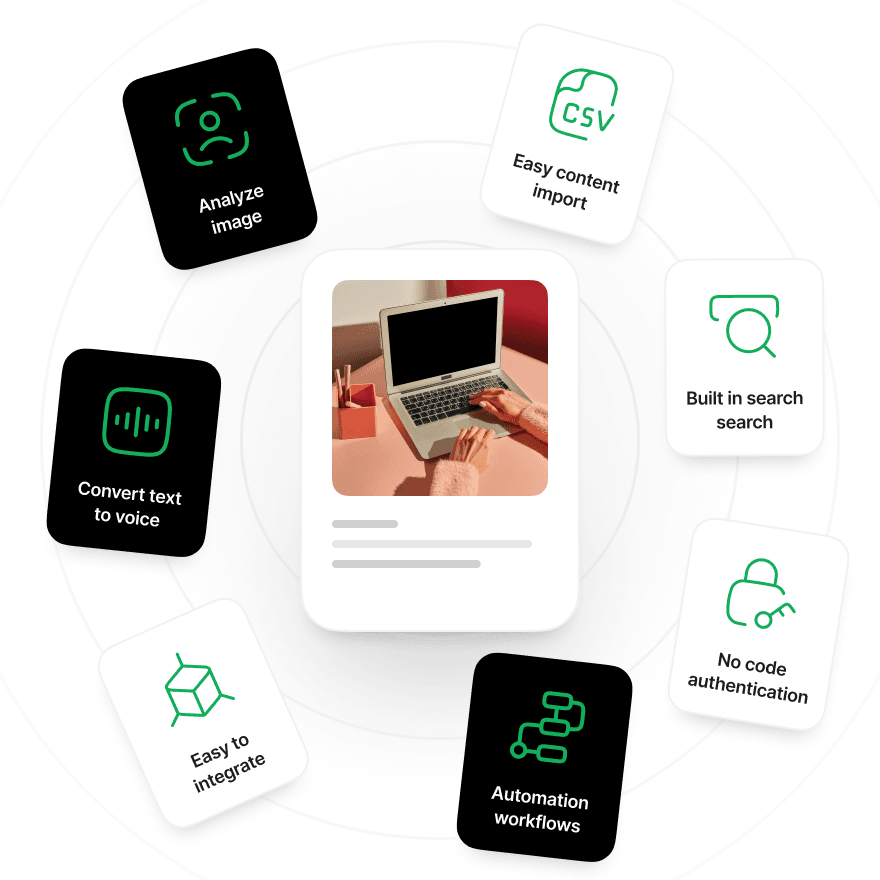
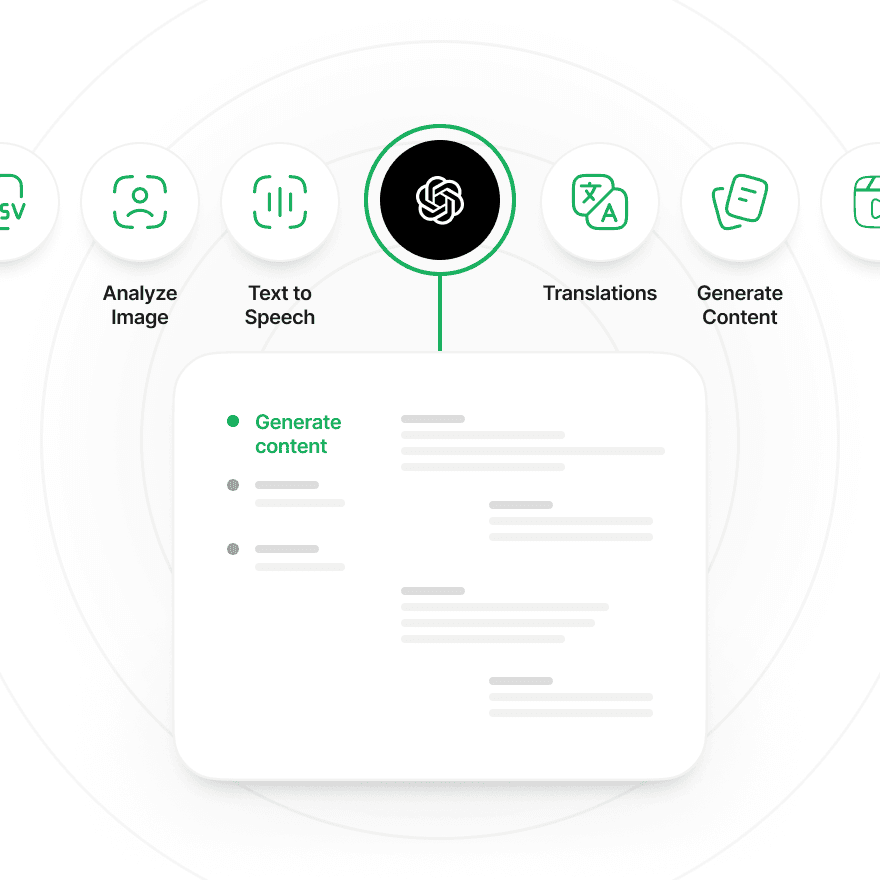
AI-Assisted Creation
Get smart suggestions and automation to speed up your workflow.
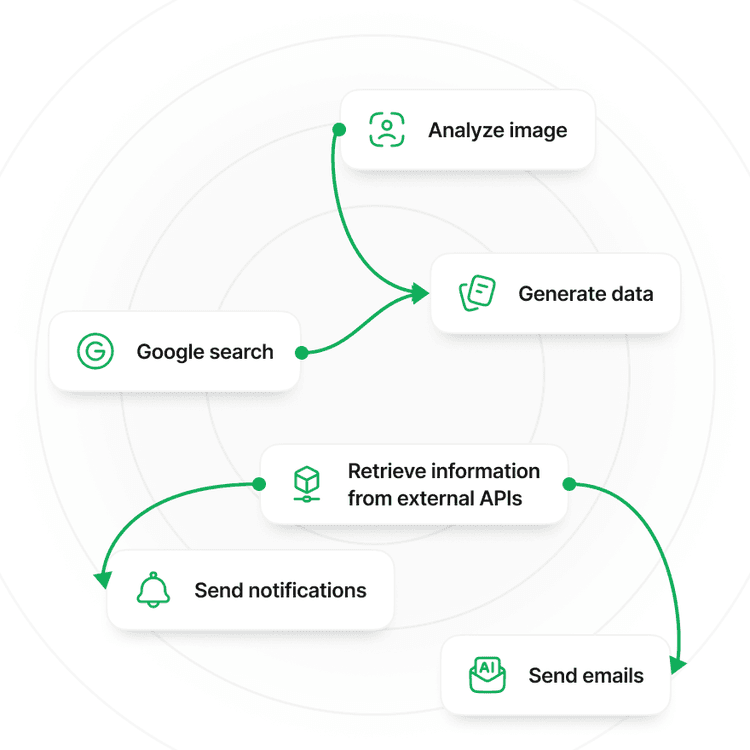
Automated Flows
Seamlessly craft logic and interactivity with intuitive flow design.
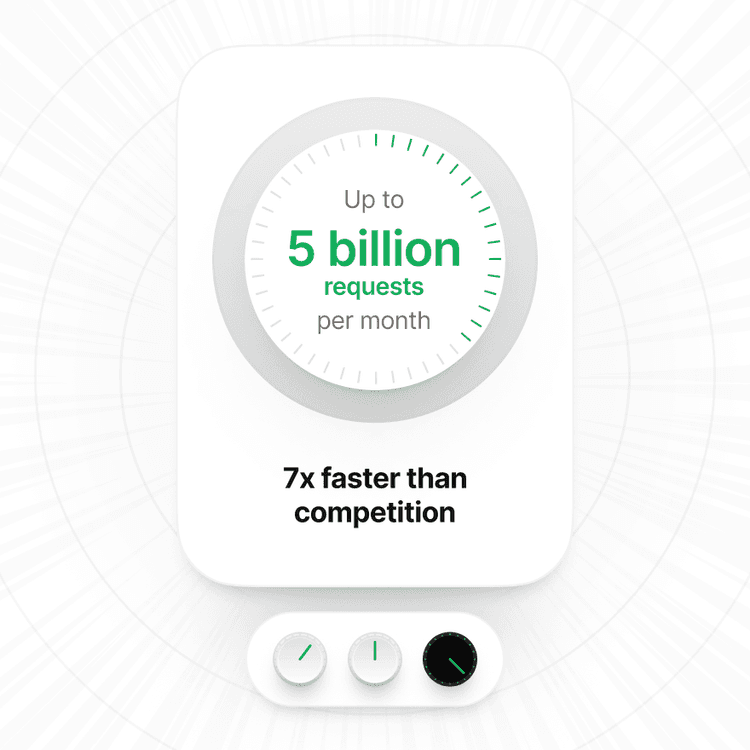
Optimized Performance
Experience fast, reliable performance that scales with your ambition.
Featured
Discover what makes us stand out.
Stay Up To Date
Stay ahead of the curve with insights and inspiration.


FAQ
Create projects effortlessly with our AI-assisted, human-first platform—no developers or designers needed.
Get Started Now
Transform your ideas into reality quickly with our intuitive, AI-powered platform—no coding or design skills required.